Labels

Showing posts with label All Posts. Show all posts

Saturday, September 29, 2012

Spinach Pie with Feta - Spanakopita


When Andrew and I can't think of where we want to eat, there is this one place that always comes to mind. I would like to say its the telepathic connection between us but I think its just because we have been there one too many times. The owner of this diner is greek and every single time you go there, you are served the complimentary bread and the greek spinach pie or "Spanakopita". The spinach pie is to die for. And whenever something at a restaurant is "to die for", I feel a strong urge to try my hand at it. It definitely did not disappoint!

Here is how you do it 

Ingredients

For the filling

Spinach  - about 1 lb
Crumbled Feta  - 6 oz
Onion - 1 small, chopped fine
Garlic - 2 cloves, minced
Egg - 1 large, beaten lightly
Parsley - 4-5 stalks, leaves chopped fine
Dill - 2-3 stalks, chopped fine
Black Pepper - 1/2 tsp or to taste


For the flaky pie crust - 

Phyllo Sheets - 20 sheets, I used 10 but would recommend more
Olive oil or butter - as needed, to brush the layers with


Method


  • Wash, chop and drain the spinach.


  • Squeeze out all the water from the spinach by pressing it between the palms of your hand and put it in a bowl.
  • Mix in all the other ingredients to get a mixture that looks like this.


  • Pre-heat the oven to 390 degrees fahrenheit.
  • Brush a little olive oil or butter in the bottom of a baking dish.


  • Start layering the phyllo sheets in the bottom.
  • Put one sheet on the oiled surface. If the sheet is bigger than the baking dish, let the edges hang.
  • Brush this sheet lightly with olive oil. Put another sheet at a slightly different angle on top of the first sheet and brush it lightly with olive oil. 
  • Repeat the process with 8 more sheets.


  • Spread the spinach-feta filling on top of the layered phyllo and press down to make it even.
  • If there are edges hanging out, cover the filling with the edges, with oiling every layer. 
  • Repeat the process of laying down phyllo sheets on top of the filling, brushing each layer lightly with olive oil before moving on to the next sheets.
  • Do this for the remaining 10 sheets. This is what the "packaged" pie is going to look like. 


  • Bake in the pre-heated oven for about 35 minutes or until golden brown. 


  • Wait 10 minutes, and then cut it into small squares.


And the Spanakopita is ready to be devoured.


Yemista- " Greek stuffed bell peppers and tomatoes" - Indianized


Palak Paneer (Spinach and Cheese)


Sunday, September 23, 2012

Paneer (A type of Indian Cheese)

I am all about cooking everything from scratch for three reasons. First, the end product is fresh, has no "preservatives", "flavor-enhancers" or  a list of 500 chemicals that sound familiar because you took chemistry in high school. Second, it is usually much cheaper to make it at home. Third and the most important reason, it works like therapy for me. I started this post with talking about cooking from scratch because I am making something that most people buy at a grocery store or at a neighborhood halwai  aka sweetshop. Paneer is a very basic Indian cheese(2 ingredients) which is very similar to ricotta cheese. It is used in a lot of main course dishes as well as desserts(usually store-bought, but again can be made at home).


I always have some paneer in my freezer. I used this batch of paneer to make palak paneer (paneer in a spinach sauce).  I also came up with a creative way to pack the paneer tightly to remove moisture from it, so it can be cut into cubes easily without it being crumbly. I will describe it shortly.

Ingredients and equipment


Whole milk - 1 gallon (better if you can find raw milk but not a big deal)
Lime juice - juice of 2 and 1/2 big limes
Stainer lined with layered cheesecloth (* you could also use a pop sock)
All-purpose flour - 2 tbsp


Method


  • Bring the milk to a rapid boil with stirring it every now and then to make sure it doesn't stick to the bottom and burn. The entire batch of paneer will taste burnt even if very little milk sticks to the bottom. 
  • Once the milk has come to a boil, reduce the heat to the minimum setting and add the lime juice, teaspoon at a time with constant stirring. You will start seeing the milk become thinner and separate into granules of paneer.
  • Keep adding lime juice and stirring until you see two separate components- "whey- yellowish-greenish liquid" and big chunks of cheese floating on the top.

  • Turn off the stove at his point and let it sit for a few minutes.
  • Drain the whey from the paneer using the strainer lined with cheese cloth. The whey so formed it very nutritious and can be saved and used in dough, dals or soups. 


  • Run water through the paneer for a minute or so to wash out the lime flavor and let the paneer cool a little so its easier to handle.
  • Tie the opposite ends of  the cheesecloth into knots and squeeze out as much water as you can. Be careful as the paneer could still be very hot.
  • Hang the paneer with the help of the knots on a kitchen faucet or something similar(be creative) for atleast an hour, upto 3-4 hours to let more water drain.

  • Squeeze out some more water at this point.
  • Untie the knots and take the Paneer out. Put it in a big bowl and sprinkle 2 tablesppons of all purpose flour (maida) on top and knead well.
  • This is where my special $2 innovation comes into play. Take a look at this-


I found these two things at the goodwill next door from me. The steel plate on the left is like a perforated pie plate only that it is steel. The hollow circular round is from a springfoam pan. I found these for a buck each and they just happened to fit perfectly. So this is how I used them


After kneading the paneer well with the flour (helps to prevent it from being crumbly), I pressed it down in the springfoam pan as shown in the picture above. You can just shape it into a square and put it on an inverted plate and put some weight on it- like a pot full of water - separated by a wet paper towel. 


  • Put it int the refrigerator overnight.
  • Cut it into cubes and use or freeze in a ziplock for later use.
  • My paneer popped right out of the mould. My special technique helped me use all the paneer and the holes in the bottom plate help drain more moisture. If you don't have something like that, the edges might be all crumbles, which is fine too. You can just add the crumbles to the gravy/sauce and it will taste as good. 


Saturday, September 22, 2012

German Chocolate Cake

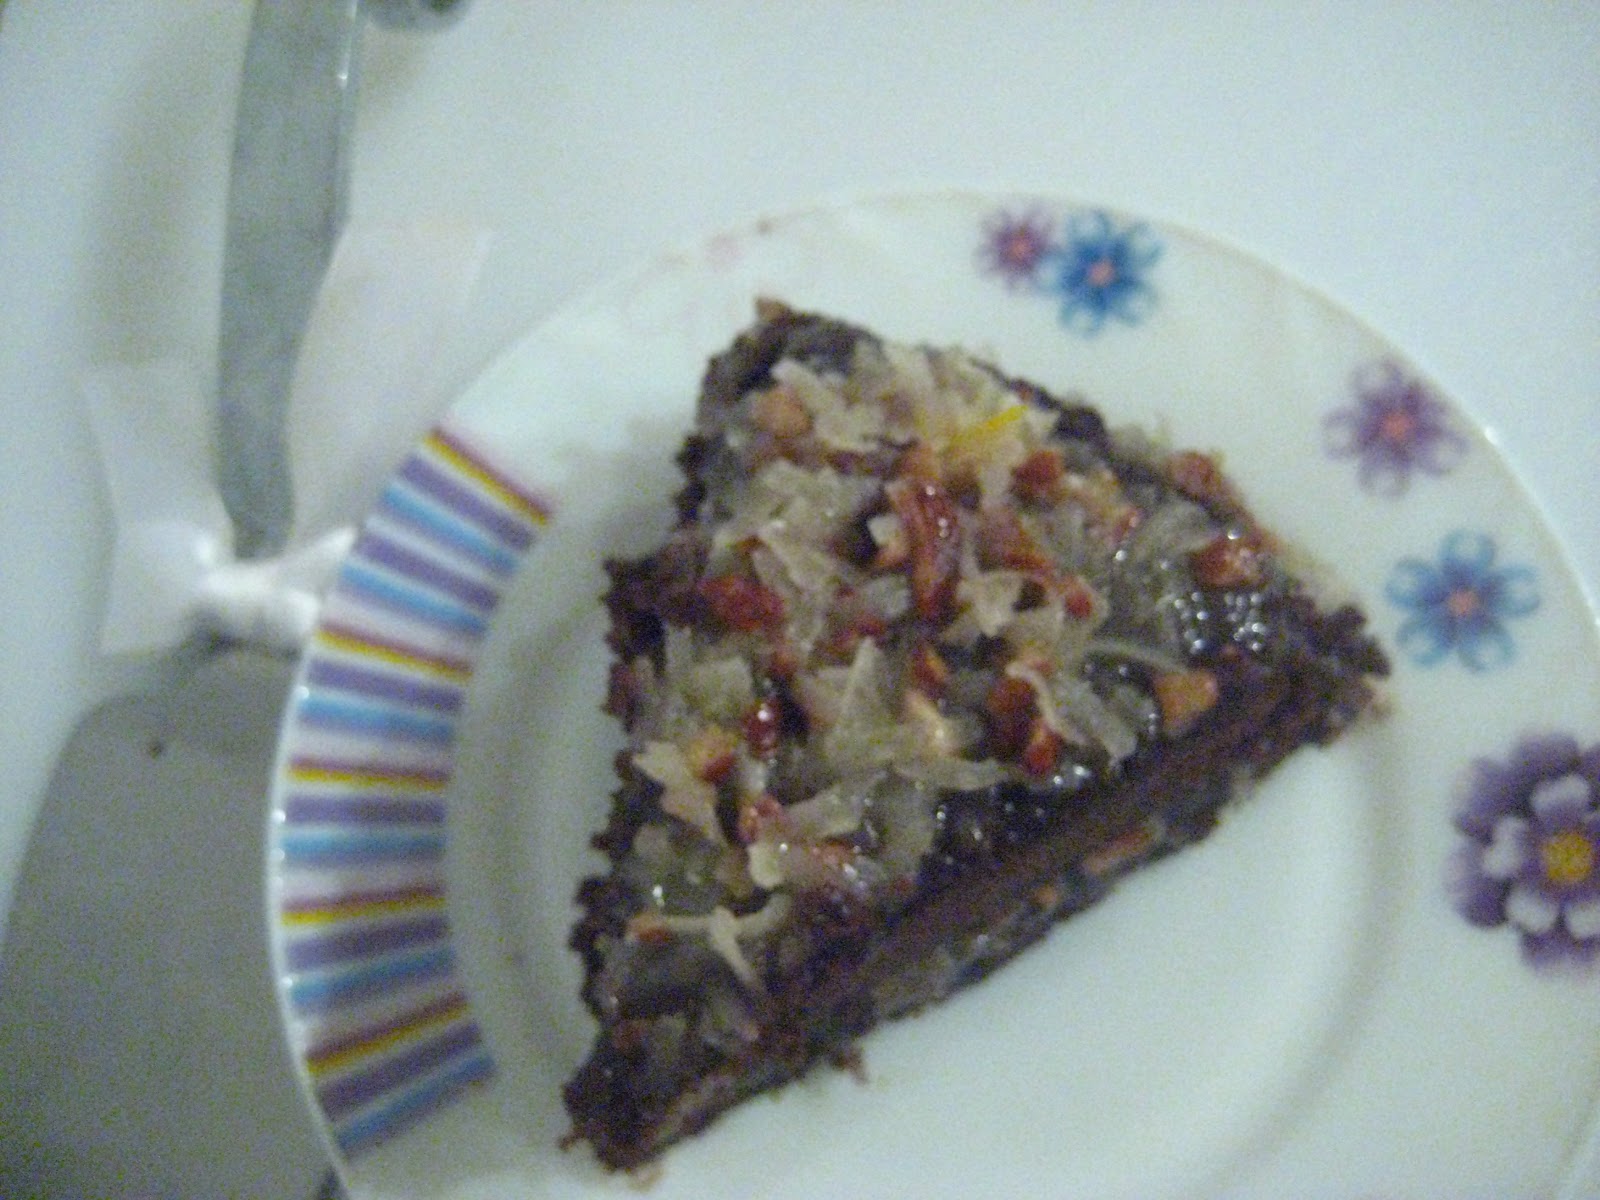
First things first. German Chocolate Cake is not from Germany. It is called so because it uses a kind of chocolate called German's chocolate. This chocolate was developed by an American guy named Sam German as per wikipedia. Last week my husband saved me a piece of cake a lady -"known for her baking" brought to work. I normally don't like chocolate cake, or anything chocolate for that matter- weird! yes!, but it is what it is. And yes, I am about to say what you know I am about to say. I absolutely loved this cake and so of course I had to try to recreate it. So here is the recipe I used. It is pretty much the recipe from JoyofBaking with a couple of changes.


For the cake
Ingredients:-


Cake flour - 2 1/4 cup (270 grams)
Cocoa Powder - 3/4 cup (70 grams), unsweetened
German's Chocolate - 4 ounces (115 grams), chopped
Baking Powder - 1 1/2 teaspoons
Baking Soda - 1/2 teaspoons
Salt - 1/2 teaspoon
Coffee - 1 cup (240 ml), lukewarm
Buttermilk - 1 cup (240 ml)
Eggs - 5 large eggs (at room temperature)
Butter - 1 1/4 cup (280 grams), unsalted (at room temperature)
Sugar - 2 1/4 cup (450 grams), granulated
Vanilla Extract - 1 1/2 teaspoons


For the topping/icing(more like a topping)

Pecans - 1 cup
Coconut flakes - 1 1/2 cups 
Butter - 1/2 cup, unsalted
Evaporated milk/ Heavy cream - 1 cup, 240 ml (I used heavy cream, would not recommend it, too runny)
Sugar - 1 cup (200 grams), granulated white
Eggs - 3 large egg yolks, lightly beaten
Vanilla Extract - 1/2 teaspoon


Method:-

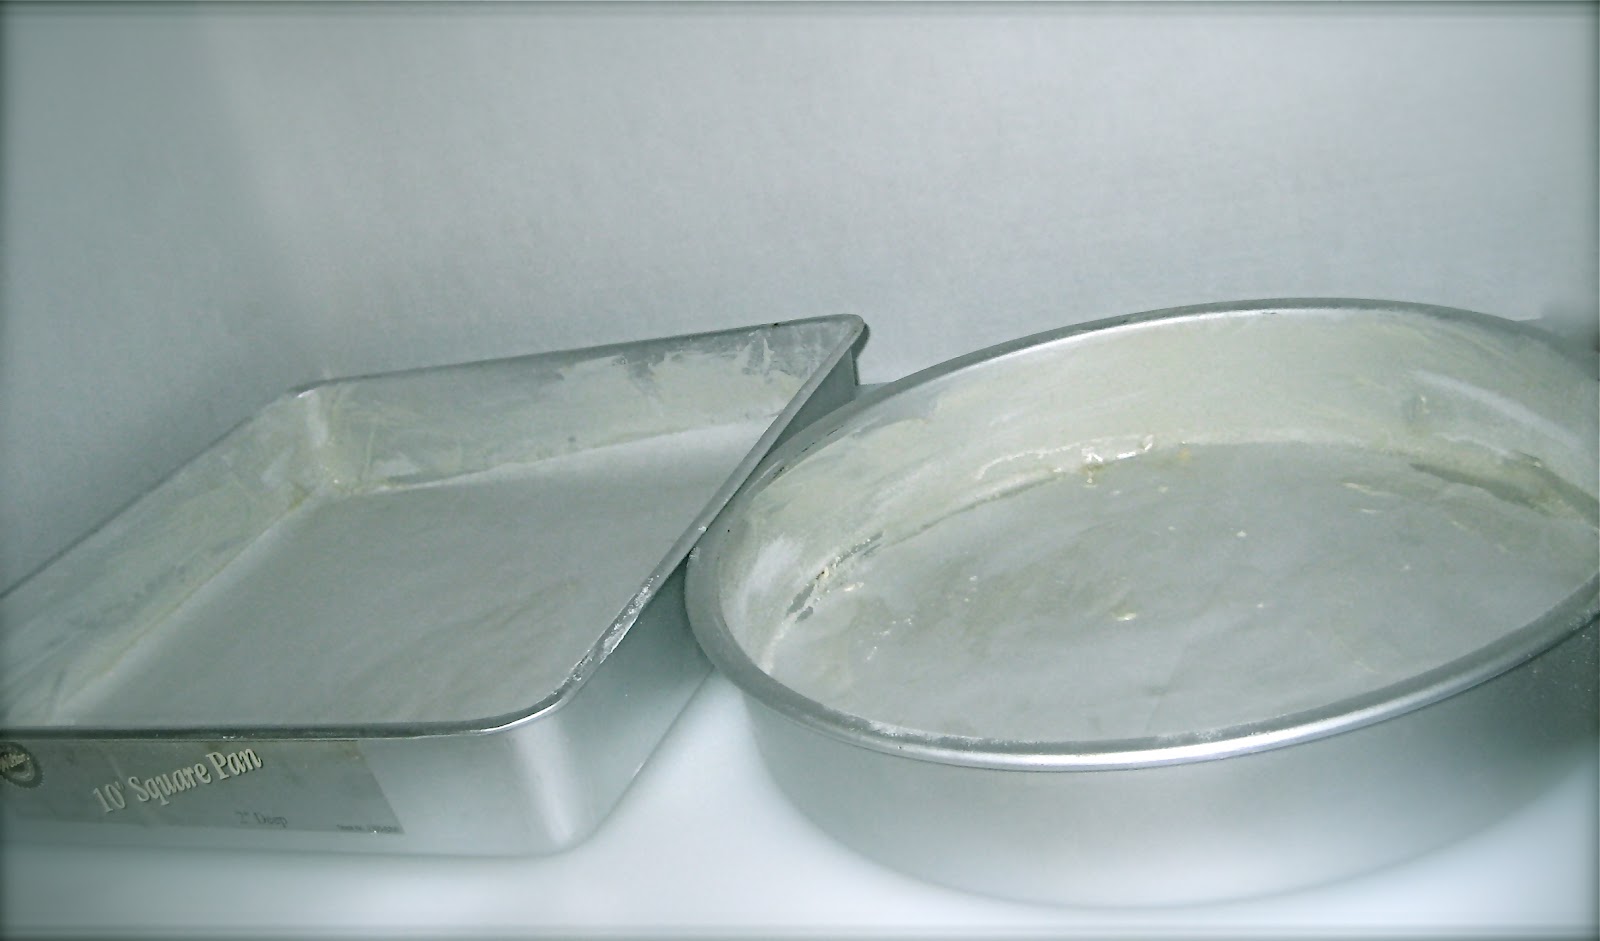
  • Butter and flour the bottom of two 9 inch round cake pans (yes, one of mine is a square) and line with parchment paper.
    • *Tip - Put cake pan on parchment paper, trace a circle around the pan, fold it in half and cut.


  • Melt the chocolate in a bowl over a pot of simmering water.


  • Sift all the dry ingredients in a bowl, set aside.


  • Beat the butter until creamy, add sugar and beat until fluffy. Now add eggs, one at a time mixing well every time you add one. Finally add the vanilla extract and melted chocolate and beat until mixed well.


  • Pour the coffee into the buttermilk and mix it with a spoon.
  • Start pre-heating the oven at 350 degree fahrenheit (180 degree celsius) at this point.
  • Mix in the dry ingredients into the wet ingredients in 3 parts, alternating with the buttermilk-coffee mixture and ending with the dry ingredients.
  • Mix just until the batter comes together and everything is incorporated. Do not over mix.


  • Divide the batter evenly into the pans. The best way to ensure evenness is to weigh the empty pans and then weigh them after putting the batter in. I just eyeballed the batter.


  • Bake in a 350 degree fahrenheit (180 degree celsius) pre-heated oven for 30-35 minutes or until a toothpick inserted in the middle comes out clean.


Now on to the coconut-pecan topping/frosting

  • Preheat the oven to 350 degree fahrenheit, place the pecans on a baking sheet and bake for 8- 10 minutes. You will be met with a fragrance and thats when you know the pecans are ready. Chop them up and have them ready.
  • Combine butter, sugar, evaporated milk, lightly beaten egg yolks and salt in a saucepan.
  • Cook over medium heat while stirring constantly until it begins to boil and thicken, about 5 minutes. Turn off the heat.


  • Stir in the pecans, coconut and vanilla extract. Let this mixture cool for about an hour.


Assembling the cake -


  • If your cakes domed, just trim the tops with a bread knife or a cake leveler. 
  • Put one of the cakes, top down and spread a little less than half of the frosting evenly on it.
  • Put the second cake, bottom down on top of the first cake and spread the remaining frosting on the top to cover the cake.